
The multistory enhancement is an interesting enhancement in Revit 2018. It can help the architect to design the multistory stair much easier. In the previous version, we can only make multistory stair when the levels have the same height.
If the levels height is different, you will see a warning like this.
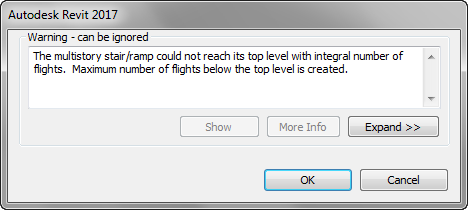
Revit creates the stair, but the elevation is wrong.
The workaround is the create multi-story stair only for levels with the same height. And for the levels that have different height, we create another stair separately.
How it works in Revit 2018
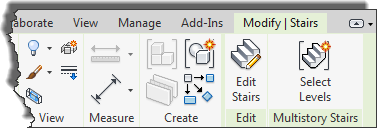
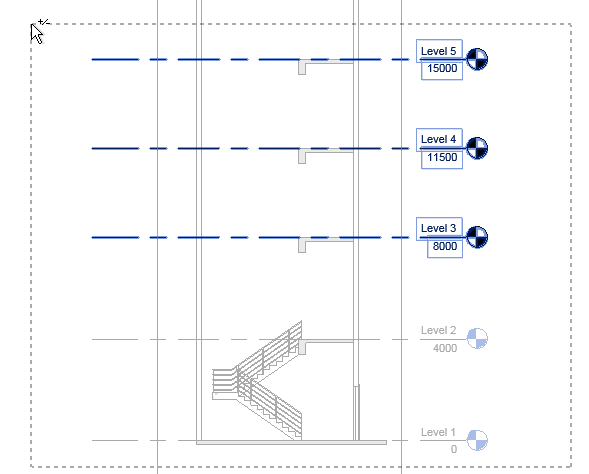
In Revit 2018, multistory option has been removed from the properties palette. After you select the stair, you can see the multistory stairs option on the ribbon. In contextual ribbon tab, you can see Multistory stair panel. Use the Select Levels to define the multistory stair.
The first time you use this tool, the active option is Connect Levels. You can select the levels that you want to connect with your stair. You can use Disconnect Levels to remove levels from the selection.
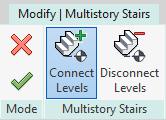
Unlike in the previous version, you need to select the levels graphically. To do this, you need to be in elevation or section view.
Click finish to create the multistory stair.
Stair Grouping
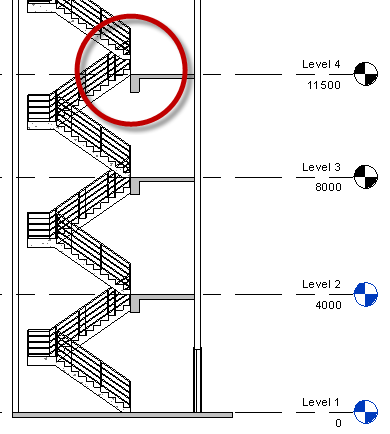
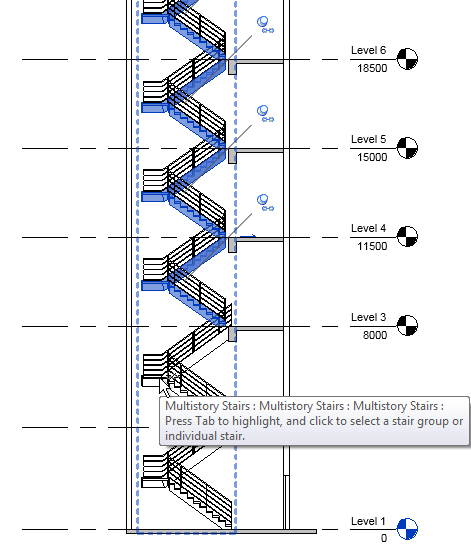
If you have different levels elevation, Revit will create separate stair groups. As you can see in the image below, level 1 to 2 and level 2 to 3 are 4000 mm height. But from 3 to 9, the height of each level is 3500 mm.
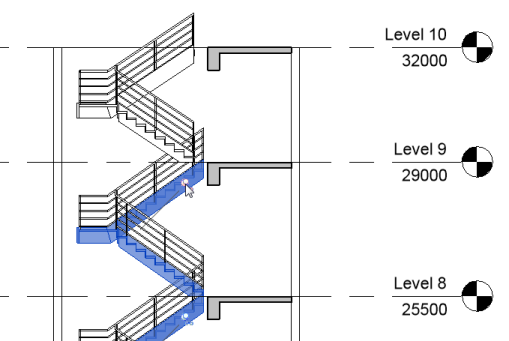
Revit created another group for level 9 to 10, because the height is 3000 mm.
You can unpin a stair to modify that particular section with different properties, not using the multistory stair properties.
And what if you change a level height after the multistory stair is created? The stair will be separated to a different group.
The new multistory stair is much better than in the previous version. We could have a workaround, but this is certainly much better!