
Revit schedule is definitely useful to show our element’s quantity takeoff. It is beneficial, but sometimes we struggle to show the information that we want. And to show it in an appearance that we want. In this article series, we will cover how to create a Revit schedule and format it as we need.
Let’s start with creating a schedule.
Schedule Types
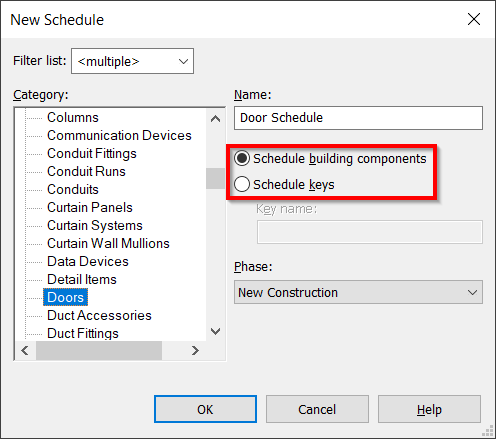
Before we start, let’s see what are schedule types are available. When you create a schedule, you have an option to create two types of schedule: a building components schedule or a key schedule.
What is the difference?
Building Component Schedule
Building component schedule can list all instance of components in your project. If you want to know how many doors you have in your building, then you need to use a building component schedule.
Building component schedule is the common type that we use.
Key Schedule
A key schedule is to set default information to a component. For example, imagine you have several door types that use a default set of accessories. The door for the public rooms, by default, has a door stopper and a kickplate. This door type has the same set of accessories for all instances in Revit. All doors in the private rooms need to have a door closer and automatic lock function.
You can quickly apply all those typical properties using a key schedule. We will see how it works in a separate article.
Creating a Schedule
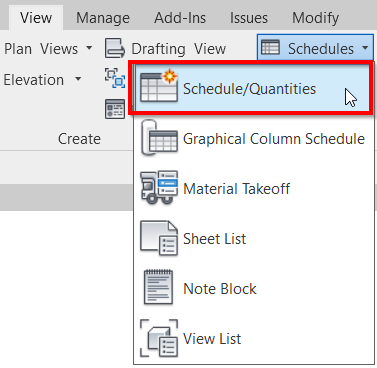
Now let’s try to create a schedule. Remember that a schedule is also a view. That’s why you can find the tool in the View tab, Create panel.
In the new schedule dialog, you can choose the component category. In this example, I use Doors. The schedule name is automatically set to category + schedule. Because the category is door category, then the name is door schedule. You can rename it now, and you can also rename it later. And for the schedule type, choose the schedule building component.
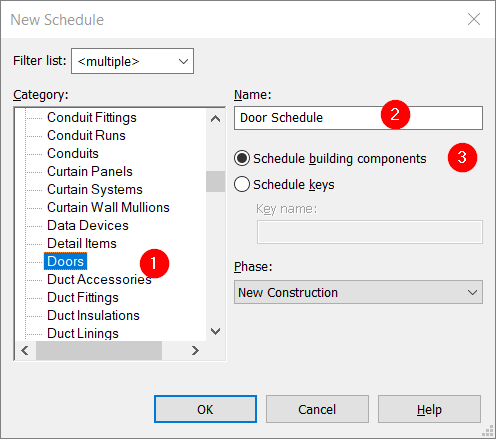
Click OK.
Adding Fields
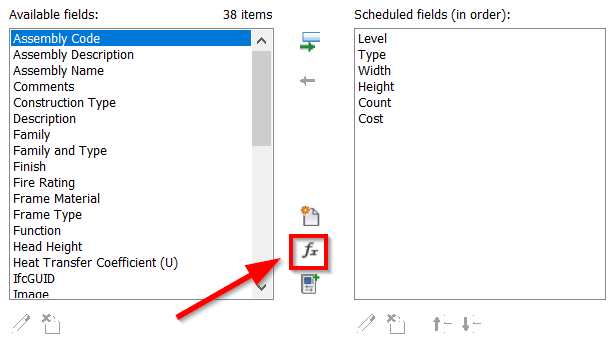
Now you need to define what information you want to show in the schedule. Revit shows you the available fields that you can show in your schedule. You can add or remove fields to your schedule using Add Parameters button (1).
You can arrange the order by clicking move parameter up or move parameter down (2).
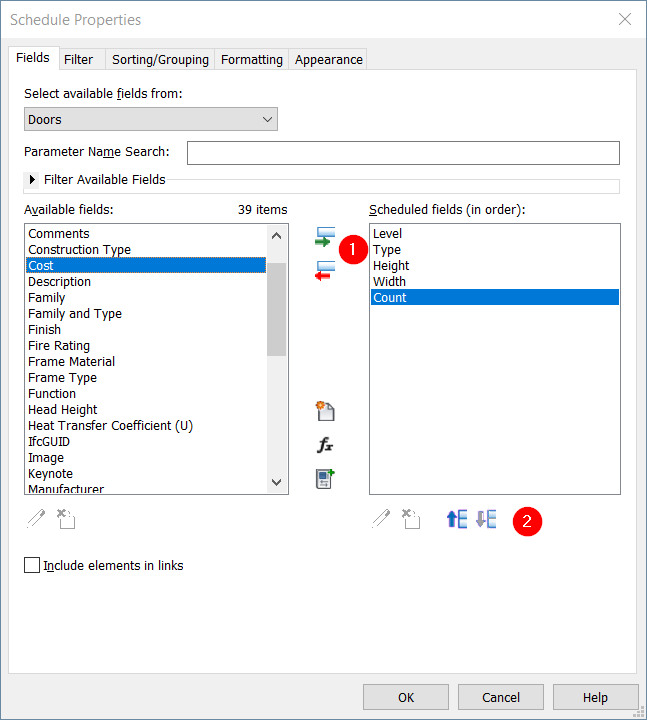
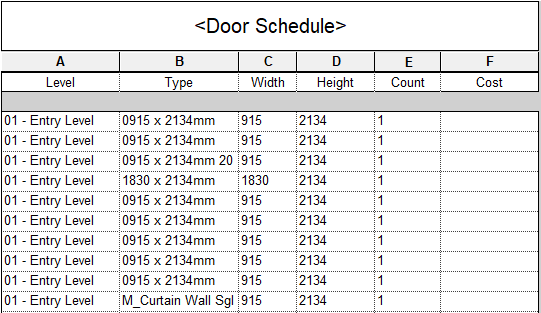
After you add all necessary field, click OK. Now you can see the door schedule.
Adding Calculated Value
We added default fields to our schedule. Now let’s explore the calculated value. Sometimes you need to add an adjusted value. For example, element length with 5% waste. You can add a calculated value of 1.05*Length. Or maybe you want to add a door area. This parameter is not available for doors, but you can get it by multiplying Width and Height.
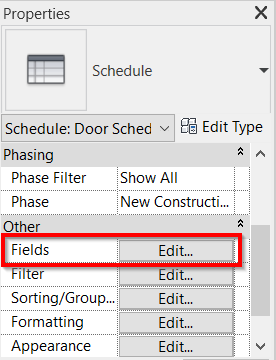
Let’s edit the schedule. With the schedule view open, find Fields parameter in the Properties Palette. Click Edit…
It opens the Schedule Properties dialog again. Click Add calculated parameters button.
In the Calculated Value dialog, type the parameter name (1). For example, I give the name Opening Area. Next, choose the value type (2). If you choose number type, multiply width and height, Revit will refuse and say inconsistent unit.
Now in the formula field (3), you can type the formula. Click the … button to select parameters that you can use from the list. You can type the parameter name (case-sensitive), but I found it’s easier to select from the list to avoid a typo.

Click OK to create the calculated value. Arrange the order if necessary. Click OK again to close the Schedule Properties dialog.
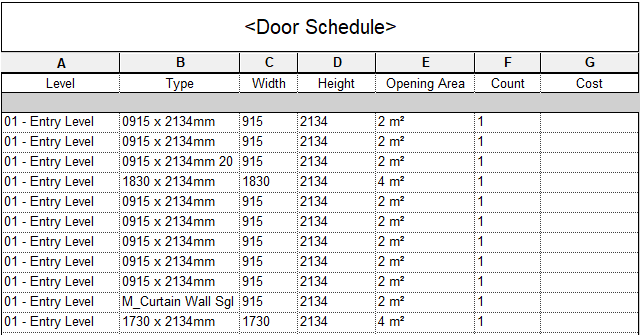
Now you can see the calculated value in your schedule.
Combine Parameters
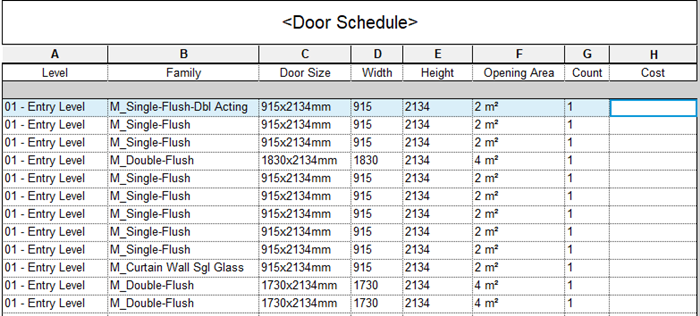
Another information that you can add to your schedule is a combined parameter. You can combine two or more parameters and show it as one value. For example, if we see in the schedule, I want the door type to show the door size. But not all door types have consistent naming. I don’t want that. So I want to create a new combined parameter.
Open the Schedule Properties again. Click Edit… button next to Fields parameter in the Properties Palette.
Click Combine Parameters.

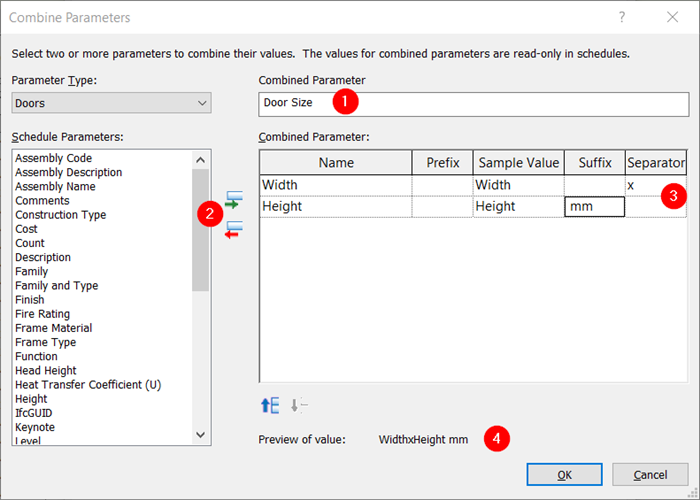
As always, you need to give this parameter a name (1). Then you can add the parameters to combine (2). Then you can define the prefix, suffix, and separator between the parameters (3).
In this example I use separator x after Width, and mm as suffix after Height. You can check how the combined parameter looks in the preview (4).
Click OK to create the combined parameter. Arrange the order if necessary. Click OK again to close the Schedule Properties dialog.
That’s It for Now!
Now the door schedule shows the information I need. But it still needs some adjustments like grouping, changing the measurement unit, and adjust the appearance. There will be several more articles to cover the Revit schedule. From 101 to deep dive!